Thinking of building an accessory dwelling unit? You’re not alone. Across California, more and more homeowners are turning to ADUs as a smart way to unlock space, bring families closer, or even create a new stream of income. What makes them so appealing is their flexibility - an ADU can be a cozy home for parents, a private retreat for a college graduate, or a welcoming guest suite, all without leaving your property.
But while the end result is exciting, the process can feel intimidating. Where do you start? What should you plan for? And how do you avoid costly mistakes along the way? The good news is, with the right approach, building an ADU doesn’t have to be overwhelming.
Get Started Now!Step 1: Understand What an ADU Is and Why You’re Building One
Before you dive into design plans or permits, it’s important to pause and get clear on what an ADU really is and why you want one.
What Exactly Is an ADU?
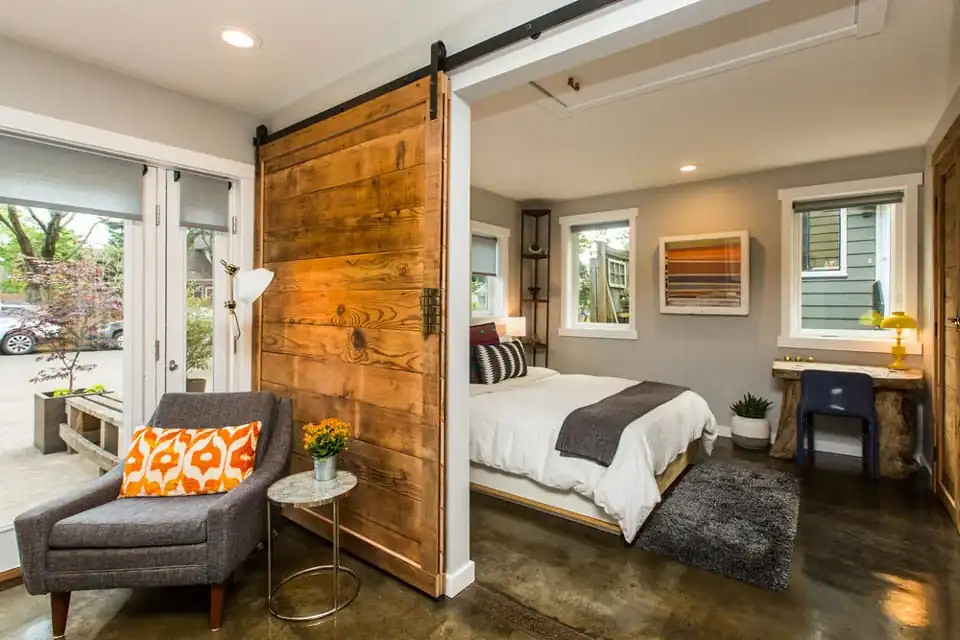
An accessory dwelling unit is a self-contained home that sits on the same property as your primary residence. It has its own entrance, kitchen, bathroom, and living space, which makes it different from a simple guest room or finished basement. ADUs come in all shapes and sizes: detached cottages in the backyard, apartments above garages, or even conversions of existing space within your home.
Why Are You Building One?
Just as important as knowing what an ADU is, though, is knowing why you’re building one. Are you looking to create a private suite for a parent? Do you want to give a returning adult child some independence? Maybe you’re hoping to bring in rental income or boost the resale value of your property. Your “why” will shape the decisions you make about design, size, and budget.
When your vision is clear from the start, the rest of the process feels a lot less overwhelming and a lot more exciting.
Step 2: Learn Local Regulations and Requirements
Building an ADU in the Bay Area isn’t just about design, it’s about playing by the rules. California has statewide laws that make ADUs easier to build, but each city adds its own requirements.
- Zoning and setbacks – how close you can build to property lines.
- Height limits – how tall your ADU can be.
- Parking requirements – whether extra parking needs to be provided.
- Lot coverage – how much of your property can be developed.
Understanding these details up front saves you from headaches later. Many homeowners are surprised by how technical the process can be, which is why partnering with a team that knows local regulations inside and out makes such a difference.
Step 3: Explore Design Options That Fit Your Property
There’s more than one way to build an accessory dwelling unit, and the best option depends on your goals, your lot, and your budget. Here’s a quick look at the most popular types:
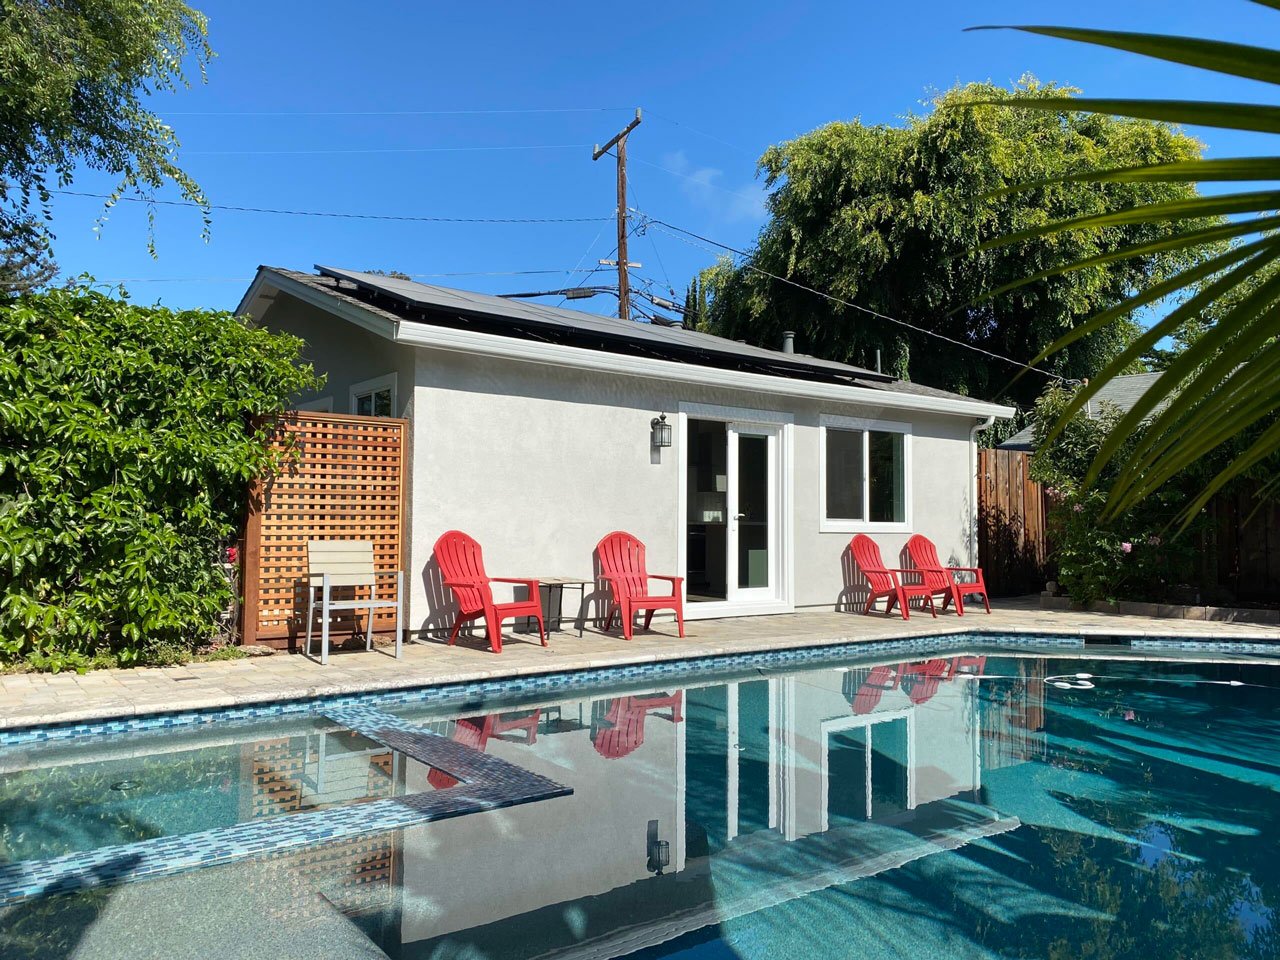
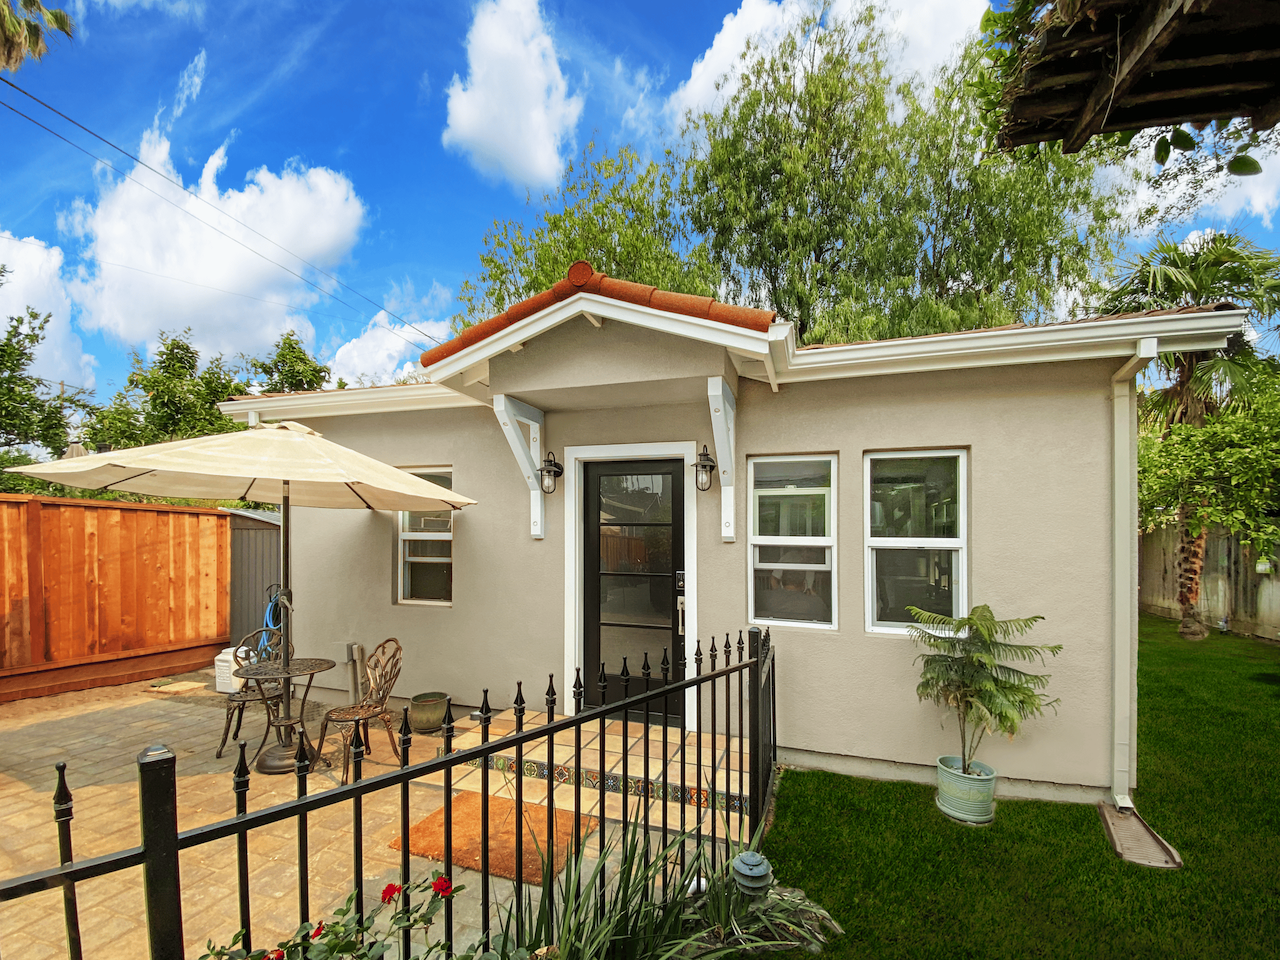
Detached ADUs
A stand-alone cottage or backyard home. Offers maximum privacy but requires enough land.
Attached ADUs
An addition connected to your main house, often sharing one wall. Convenient, but less independent.
Garage Conversions
Turns your garage into a self-contained home. Cost-effective, but you lose parking or storage.
Above-Garage ADUs
Builds up, not out. Keeps your garage intact while adding a full unit on top.
Each option comes with trade-offs, but all can be designed to feel like a true home. The key is matching the type of ADU to your family’s needs today and in the future.
Learn More!Step 4: Plan for Utilities and Infrastructure
An accessory dwelling unit isn’t complete without the essentials: water, power, and climate control. Planning for utilities early ensures your ADU feels like a real home, not just an add-on.
- Plumbing: Running new water and sewer lines may be needed, especially for detached or above-garage ADUs.
- Electrical: Older homes often require panel upgrades to handle the extra demand.
- Heating and Cooling: Energy-efficient options like ductless mini-splits or tankless water heaters are popular solutions.
When these systems are thoughtfully designed, your ADU will be comfortable year-round and built to last.
Step 5: Budget Wisely and Understand Costs
Costs can vary widely depending on the type of ADU and the level of customization. A realistic budget is one of the most important parts of planning.
Key factors include:
- Type of ADU: Detached units cost more than garage conversions or interior remodels.
- Size and Design Complexity: More square footage and unique layouts add to the price.
- Materials and Finishes: Higher-end choices can quickly increase costs.
- Site Preparation: Grading, drainage, or foundation work may come as surprises.
- Permitting and Fees: City permits and utility connection fees should always be included.
Thinking through these items ahead of time helps avoid unpleasant surprises and keeps your project on track from start to finish.


Step 6: Choose the Right Team to Build Your ADU
Building an accessory dwelling unit is a major investment, and the team you choose will shape your experience from start to finish. While some homeowners consider managing the project themselves, ADUs are complex enough that expert guidance can make all the difference.
Why Specialization Matters
Not every contractor has experience with ADUs, and these projects come with unique requirements - zoning rules, utility connections, pre-approved plans, and structural considerations. Choosing a builder who specializes in ADUs means fewer surprises and a smoother process.
What to Look For in a Partner
- A clear, proven process for design, permitting, and construction.
- Knowledge of local city regulations and how to navigate them.
- Experience balancing family needs with practical design solutions.
- Transparent communication and realistic budgeting.
How Acton ADU Helps
Acton ADU focuses exclusively on ADUs in California, guiding homeowners through every step. From handling permits to designing livable, family-friendly spaces, we make sure your project is done right - and done with your long-term goals in mind.
Get Started Now!